The intent of this lesson is to introduce you to a program known as Git and to Github, a Git-based website that is specifically designed to support projects with multiple developers. This combination is a great way to support teamwork on complex, and often remote, technical projects. One of the best features is robust version control that helps developers avoid the loss and/or duplication of work. This lesson presents a brief and (hopefully) easy introduction into the use of these technologies.
Procedure.
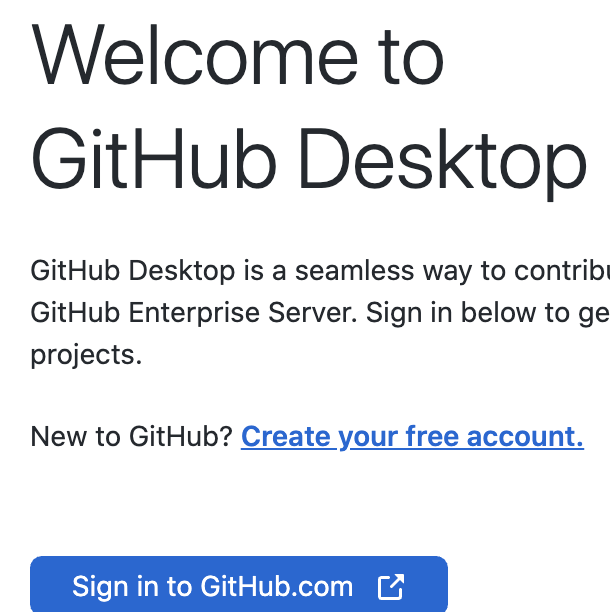
- Visit https://desktop.github.com and install github desktop on your computer.
- Fire it up. If you have a Github account, login. Otherwise, create one.
- What I think will happen next is that github will prompt you to Authorize the desktop app, so do so.

- Submit your Github username to me with this google form.
- Slack the Github username to me as well.
- Check your email again because I will invite you to 'collaborate' on a Github repository.
- Click View invitation and then accept the invitation.
- Return to Github desktop and you will most likely see a message that says something to the effect that you have no repositories. Refresh to see the one that you just accepted.
- Click the clone button at the bottom. Clone it! You can clone it to the default location on your computer or to some other folder. It'll work either way.
-
- Open the repository in Brackets or some other text editor (as prompted).
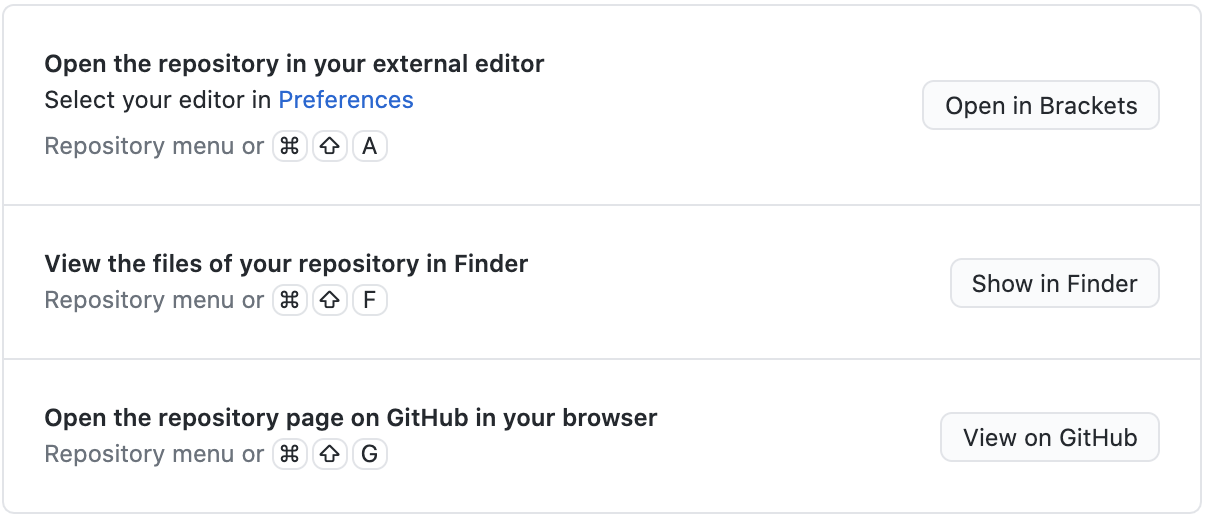
Sadly, this step may not work as advertised. If not, I recommend that you open Brackets and then select "file open folder" and browse to, and select, the otravez folder that houses the repository (inside of the documents folder).
- Open the repository in Brackets or some other text editor (as prompted).
-
- Now view the files of the repository in finder. There should be a file. named index.html and a folder of images named img. In just a bit you are going to add your image to the img folder, and then add the image and your name to the index.html file. Before this step however you need to create a new 'branch'. The reason for this step is that you have downloaded the master repository but it is bad form to make changes to the master repository during the development process. Why? Imagine that you are a small part of a big team project. Do you REALLY want to risk messing up everyone else's work? That is why you create a branch just for your portion of the work. The branch that you are about to create will actually be a copy of the master repository. Once you are through you will send your branch to Github and someone else (me in this case) who is running the overall project, ultimately will add your changes to the master branch. Whew!
-
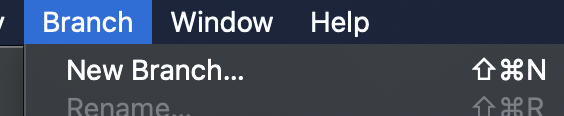
To create the new branch, click Branch New Branch and name the branch after yourself.
- With the new branch selected,
add an image of yourself that is no wider than 500px to the img folder. - Name the image based on your first and last name.
- Use your code editor to add that image of yourself and your name to index.html.
- With the new branch selected,
- Once you have made these changes, commit them to your branch as shown below. to Github. A brief summary is required in order to activate the commit button.

- Now you should be prompted to publish your branch. Do so.
- That's it! Now visit Github.com and take a look at your branch. Open index.html in your branch and you should see your changes. Now open the same file in the master branch. The changes that you made are not there yet but will be added later.